 Gacha Nebula
Gacha Life 2 Studio Mode: Scene Builder Guide
Gacha Life 2 Studio Mode is where your characters stop being designs and start being actors: place up to 16 of them in a scene, pose them, give them dialogue, pick a background, and save scenes you can turn into full gacha videos. It is the heart of the game for storytellers, and this 2026 guide walks through every tool it offers, from your first scene to shareable mini-movies.
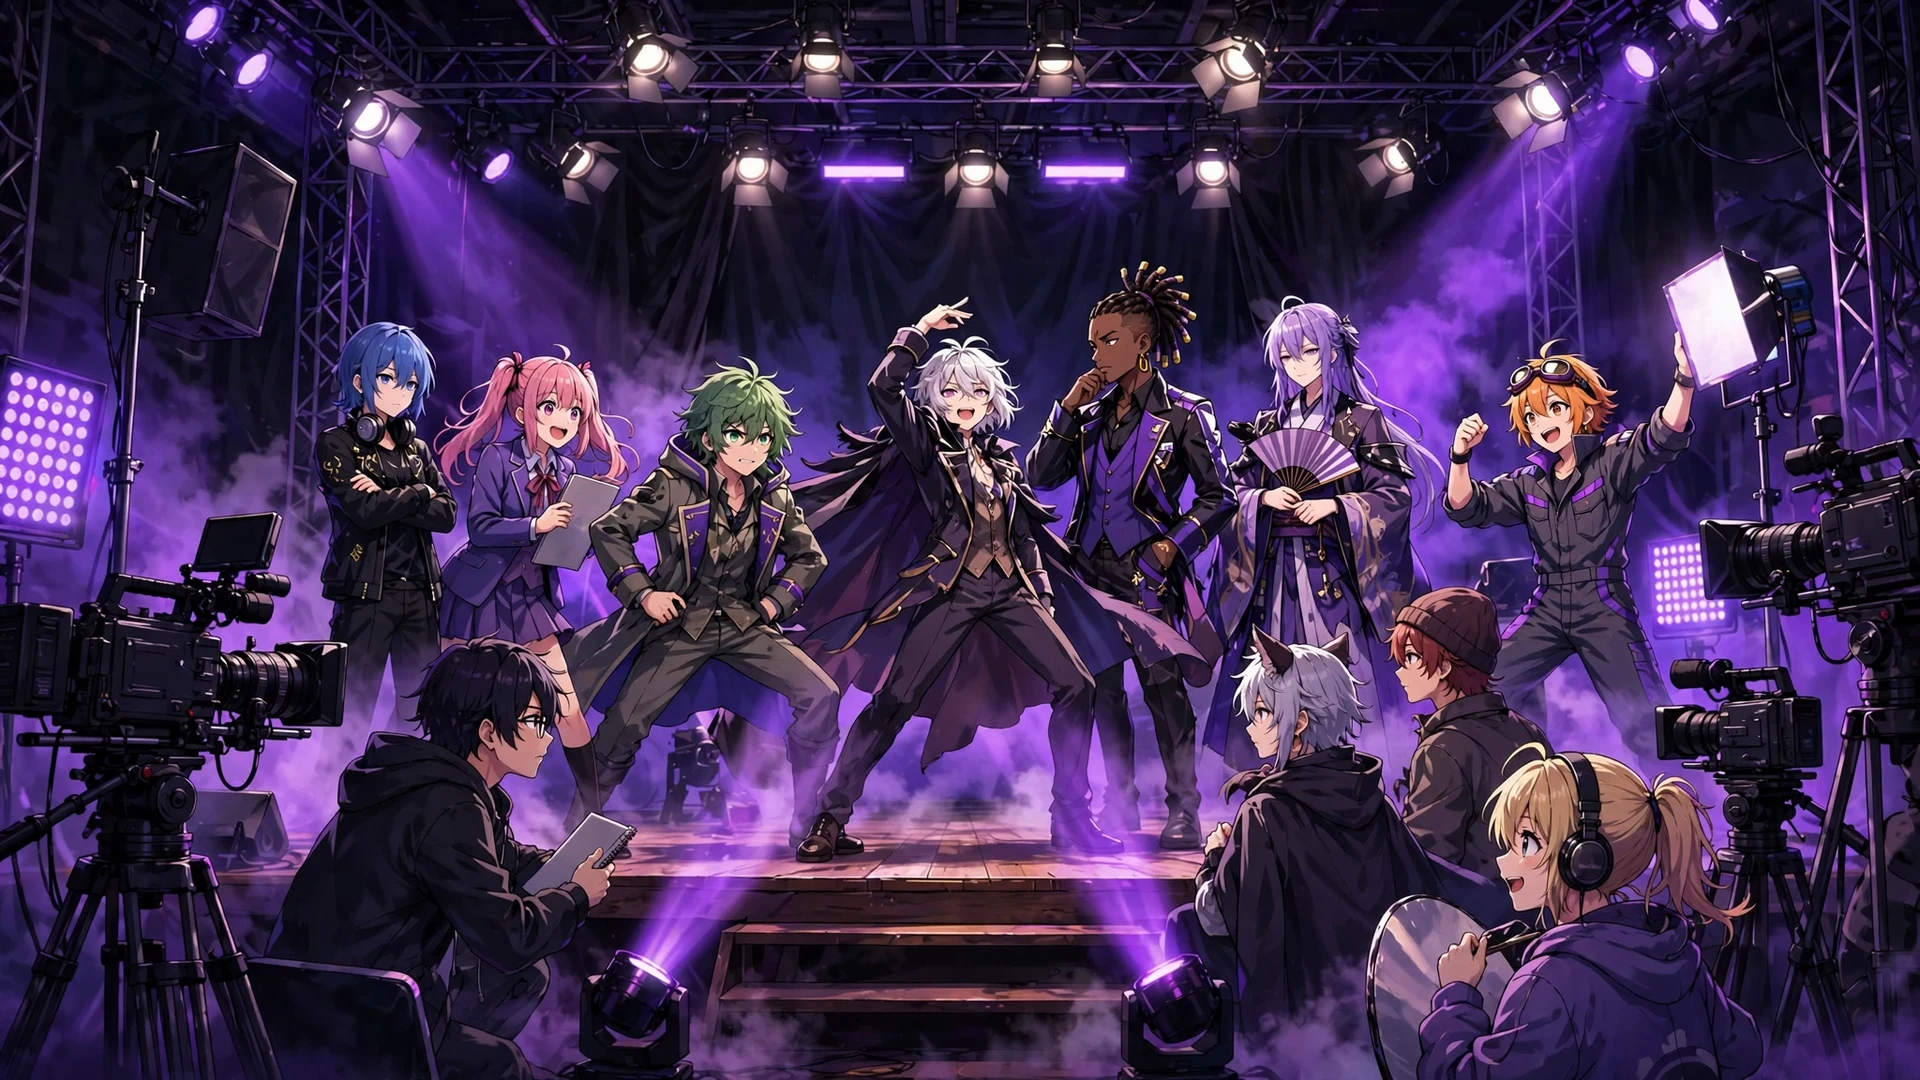
Quick answer: Studio Mode lets you arrange up to 16 characters per scene with custom poses, text, and backgrounds, then save scenes for your gacha video projects. Lock finished characters so you do not disturb them while editing.
What Studio Mode Actually Is
Think of Studio Mode as a stage and a camera in one. The character creator builds your cast; Studio gives them somewhere to stand and something to say. Every scene is a still frame you compose: who is in it, where they stand, how they are posed, what the background looks like, and what text appears. Multiple scenes chained together become a story, and creators combine saved scenes in external video editors to make the gacha mini-movies you see on YouTube.
Compared to the original Gacha Life, which allowed 8 characters per scene, Gacha Life 2 doubles that to 16. That single change transforms what scenes can be: full classrooms, festival crowds, battle royales, family portraits. If you ever felt cramped by the old limit, this is your upgrade.
Your First Scene: Step by Step
- Open Studio from the main menu, the second tab in the game.
- Choose a background from the library of over a hundred options, or keep the default while you learn the layout tools.
- Add characters from your slots. Any character you have saved, custom OCs and simulator pulls alike, can be placed. You cannot place two copies of the same character.
- Drag to position each character. Pinch to resize, twist to rotate, and use the flip option to mirror anyone facing the wrong way.
- Set poses and expressions. Poses changed in Studio do not overwrite the character's saved default, so experiment freely.
- Add text with the text tool: dialogue, narration, or sound effects. Style it to match the mood.
- Lock each character when you are happy with them, so later edits do not knock them out of place.
- Save the scene. Done: your first composed frame.

16 Characters: Layout Tips for Big Casts
Sixteen slots sound generous until everyone overlaps into a blob. Composition rules from photography apply directly here. Layer by depth: place background characters smaller and higher, foreground characters larger and lower, to create a sense of space. Group by relationship: keep allies near allies and rivals apart; viewers read closeness as story. Leave breathing room around your focal character so the eye lands where the scene's important beat is.
For dialogue-heavy scenes, fewer is more. Two or three large characters with clear text beat eight tiny ones nobody can read. Save the full 16 for crowd moments: concerts, classrooms, parties, battles. And remember the lock button exists for a reason: on a 16-character scene, one accidental drag can ruin ten minutes of arrangement.
Backgrounds, Text, and Props
Backgrounds do half the storytelling. With over a hundred to choose from, match the setting to the scene's emotion: warm interiors for comfort, dramatic skies for tension, plain gradients when you want all attention on the characters. You can also adjust background gradient colors to fine-tune the mood.
Text is your screenplay. Keep dialogue short per frame: one or two lines that a viewer can read in seconds. Long paragraphs belong in narration boxes between scenes, not crammed over characters' heads. Style choices matter too: consistent text styling across a series becomes part of your brand as a creator.
Characters can hold props and pets from the creator, which adds instant storytelling. A character clutching a weapon reads differently from the same character holding flowers, and you do not need a single line of dialogue to say it.
Custom Poses in Studio: The Game Changer
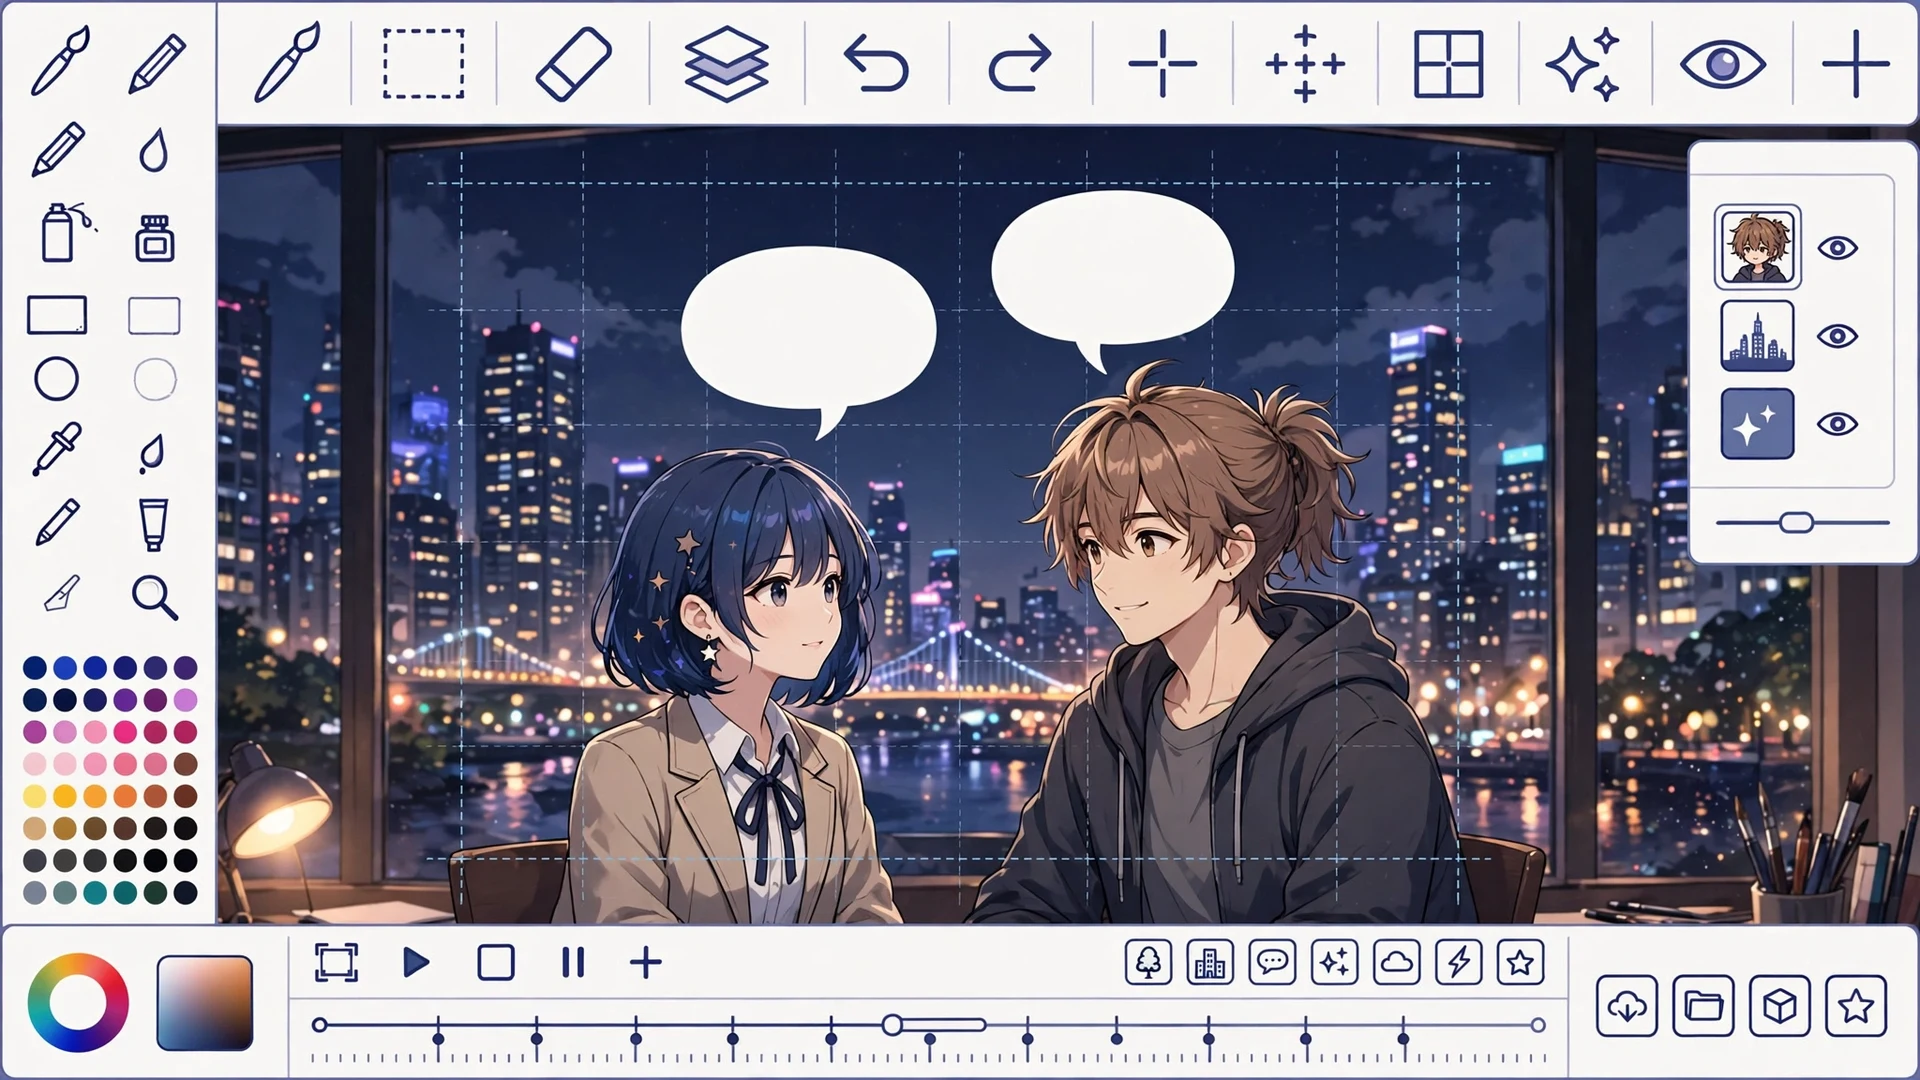
Gacha Life 2's custom pose system is Studio Mode's biggest upgrade over its predecessors. Instead of picking from a preset list and accepting the closest match, you can build poses joint by joint and save your favorites. In Studio, this means a character can point exactly at another character, slump exactly the way defeat looks, or dance exactly on beat.
The workflow that works: build and save your custom poses in the character creator first, then apply them in Studio when composing. Since Studio pose changes never overwrite saved defaults, you can also improvise per scene without fear. For sharing poses between devices, our Gacha Life 2 codes guide covers the import and export system.
From Scenes to Videos: The Current Pipeline
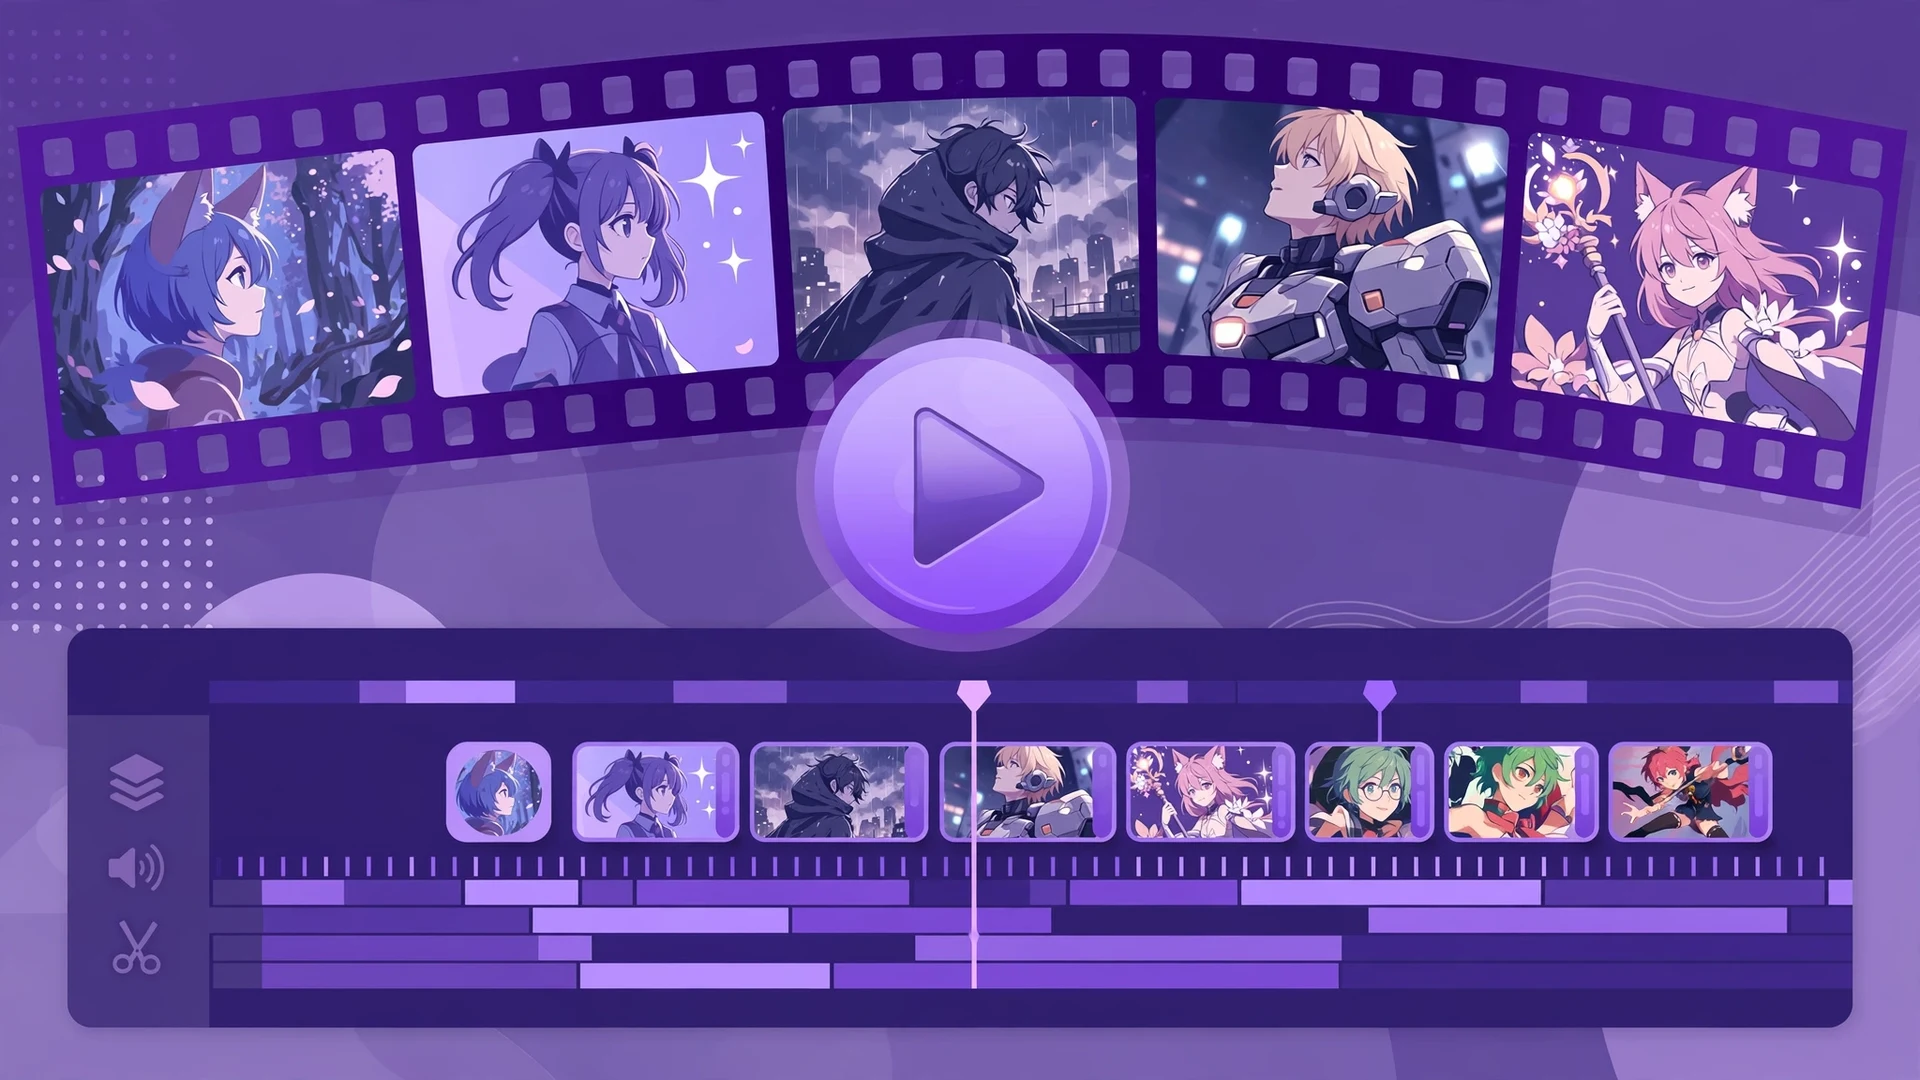
One honest note before you plan a video: Gacha Life 2 does not currently include a built-in video exporter, so scenes are still images you compose in the game. The classic pipeline is scenes plus an editing app. Build your scenes in Studio, screenshot each finished frame, and combine them in a video editor with voiceovers, music, and effects. That is how the gacha mini-movies on YouTube are actually made.
Lunime has said a Movie Maker feature for creating short skits and stories is planned, which would bring that pipeline inside the game. Until it arrives, plan before you build. Sketch your story's beats first: opening, setup, turn, climax, ending. Then build one scene per beat rather than improvising twenty scenes and hoping a story emerges. Creators who plan finish videos; creators who do not accumulate unfinished scene folders.
For the full journey from character idea to published video, see our complete Gacha Life 2 guide.
Saving, Loading, and Organizing Scenes
Studio scenes save into slots you can reload and edit later. Name them clearly: Ep3_market_fight beats Scene 12 when you return after a month. Keep a consistent naming scheme across a series so episodes sort themselves. And before any big edit, duplicate the scene if the game allows it: a backup of a complex 16-character composition is worth more than the seconds it costs.
Studio Mode vs Gacha Club Studio
| Feature | Gacha Life 2 | Gacha Club |
|---|---|---|
| Characters per scene | Up to 16 | Up to 10 |
| Custom poses | Full custom pose builder | Preset poses only |
| Backgrounds | Over 100 | Large library |
| Character slots feeding Studio | 300 | 100 |
The pattern is clear: Gacha Life 2's Studio is built for bigger, more customized productions. Our full Gacha Life 2 vs Gacha Club comparison breaks down every difference if you are choosing between the two games.
Text and Dialogue: Writing for the Frame
Studio text looks simple until your dialogue ruins a good composition. The core skill is writing to the frame: every line must fit the space and the second it takes to read. A wall of text over a beautiful scene tells viewers the creator does not respect their time. Aim for dialogue that lands in one breath: short, punchy, and carrying exactly one idea per frame.
Structure longer conversations as a sequence of frames, not a paragraph. Each exchange gets its own scene: character A speaks, cut to character B reacting, cut back. This is how real comics and films pace dialogue. Ten quick frames with two lines each feel cinematic; one frame with twenty lines feels like homework.
Narration boxes serve a different job. Use them for time skips, location changes, and internal thoughts, the things dialogue cannot carry. A common beginner pattern is making characters say what the narrator should: she walked to the store announces the dialogue instead of showing it. Let the background show the store, let a narration box say morning, and let the character speak only what a person would actually say.
Backgrounds Deep Dive: Setting the Mood
With over a hundred backgrounds available, selection paralysis is real. Simplify with a rule: the background answers where and when, nothing more. Pick the first background that clearly communicates both, then move on. Creators who spend twenty minutes choosing a background are avoiding the harder work of posing and dialogue.
Gradient control is the underused superpower. The same classroom background shifts from cheerful morning to tense evening with a gradient change, which means one background can serve a whole episode's arc. Build a small set of go-to backgrounds, maybe ten, that cover your series' recurring locations, and reuse them relentlessly. Consistency of place is what makes a fictional world feel real.
Empty space is a compositional tool, not a failure. A character small against a vast sky reads as lonely; the same character filling the frame reads as confident. Before adding more elements to a scene, ask whether the emptiness is already saying something.
Common Studio Mistakes Beginners Make
- Floating characters: feet that do not touch the ground plane break believability instantly. Anchor every character to something: floor, chair, another character's shoulder.
- Text covering faces: dialogue boxes belong in negative space, never over the speaker's expression. If no negative space exists, the scene is too crowded.
- Same pose, every scene: default poses are comfortable and instantly recognizable as lazy. Vary at least one joint per recurring character per episode.
- Ignoring the lock button: the number one cause of ruined compositions is an accidental drag on a finished character. Lock everything you are not actively editing.
- 16 characters, zero focus: a full cast with no focal point is visual noise. Decide who the scene is about and make them the largest, brightest, or most central figure.
- Skipping the big-screen check: phones hide sins. Review exports on the largest screen available before publishing.
From Studio to Screen: The Gachatuber Pipeline
Studio Mode is the first half of the classic gacha video pipeline; the second half happens in editing apps where creators add voiceovers, music, and effects. Understanding the full pipeline helps you build scenes that edit well. Leave headroom in compositions for subtitles. Keep character positions consistent between frames so cuts do not jar. Export scenes at the highest quality available so downstream editing does not turn them to mush.
Series creators develop one more habit: the asset bible. A simple document listing each recurring character's slot, signature pose, and color palette prevents the slow drift where episode 20's protagonist looks nothing like episode 1's. Studio gives you the tools; the bible gives you continuity.
Studio and Life Mode Together: Importing Community Characters
Studio Mode becomes far more powerful when combined with Life Mode sharing. Instead of designing every extra yourself, you can visit other players, find characters that fit your story, and import them straight into your slots, ready to place in Studio. Need a convincing villain for episode five? Someone in the community has already designed one.
This also works in reverse: publishing your own characters to Life Mode lets other creators cast them in their stories. Creators who share distinctive designs often find their characters appearing in other people's videos, which is both flattering and excellent exposure. Our Life Mode guide explains release status and how the sharing system works.
A practical casting workflow: define the roles your story needs, design only the leads yourself, import supporting characters from Life Mode, and pull background extras from the Gacha Simulator. Your scenes get richer while your design workload stays focused on the characters that matter most.
Pro Tips From Experienced Creators
- Lock early, lock often. Every finished character gets locked before you touch the next one. This single habit prevents most Studio frustration.
- Build a pose library. Save custom poses for emotions you use constantly: happy, sad, angry, shocked, shy. Future scenes assemble in minutes.
- Reuse backgrounds with new lighting. The same street background reads as morning or midnight depending on gradient and character placement.
- Stage, then script. Arrange the visual first and write dialogue to fit the composition, not the reverse. Text that fights the layout always loses.
- Export and review on a big screen. Mistakes invisible on a phone, a floating hand, a clipped head, jump out on a monitor. Check before publishing.
- Study scenes you admire. Screenshot compositions from creators you like and analyze the layering. Imitation is how every director learned.
Frequently Asked Questions
How many characters can I add in Gacha Life 2 Studio Mode?
You can place up to 16 characters in a single Studio Mode scene.
Does Gacha Life 2 have a Movie Maker?
A Movie Maker for short skits and stories is planned, but scenes are currently combined into videos with external editing apps.
Do Studio pose changes overwrite my character's saved pose?
Changing a pose in Studio does not overwrite the character's saved default pose.
Can I use simulator characters in Studio Mode?
Yes, any character in your slots, including gacha simulator pulls, can be placed in Studio scenes.
How do I stop accidentally moving finished characters?
Use the lock button on each character once you are happy with their position.
Can I use the same character twice in one scene?
You cannot place more than one copy of the same character in a scene.
Is Studio Mode better than Gacha Club's studio?
Gacha Life 2 offers 16 characters per scene and a custom pose builder, where Gacha Club is limited to 10 characters and preset poses.
How do I share my Studio creations?
Save your scenes, screenshot each frame, and assemble the frames into a video with an editing app.
Conclusion
Gacha Life 2 Studio Mode rewards the patient: sixteen slots, custom poses, and rich scene tools add up to a genuine storytelling toolkit, not just a dress-up backdrop. Build your cast, lock your layouts, plan your beats, and your scenes will start looking like the videos you admire.
Your stage is set. For more guides, visit the Gacha Nebula APK Mod homepage.