 Gacha Nebula
 Studio Mode Guide (2026)
Gacha Nebula Studio Mode is where your characters stop standing in a menu and start living in a story. If the character creator is the workshop, Studio Mode is the stage. You place up to 10 characters, pick a background, add props and pets, write dialogue, and save the whole scene. It is the tool behind most of the Gacha mini-movies, comics, and memes you see on TikTok and YouTube.
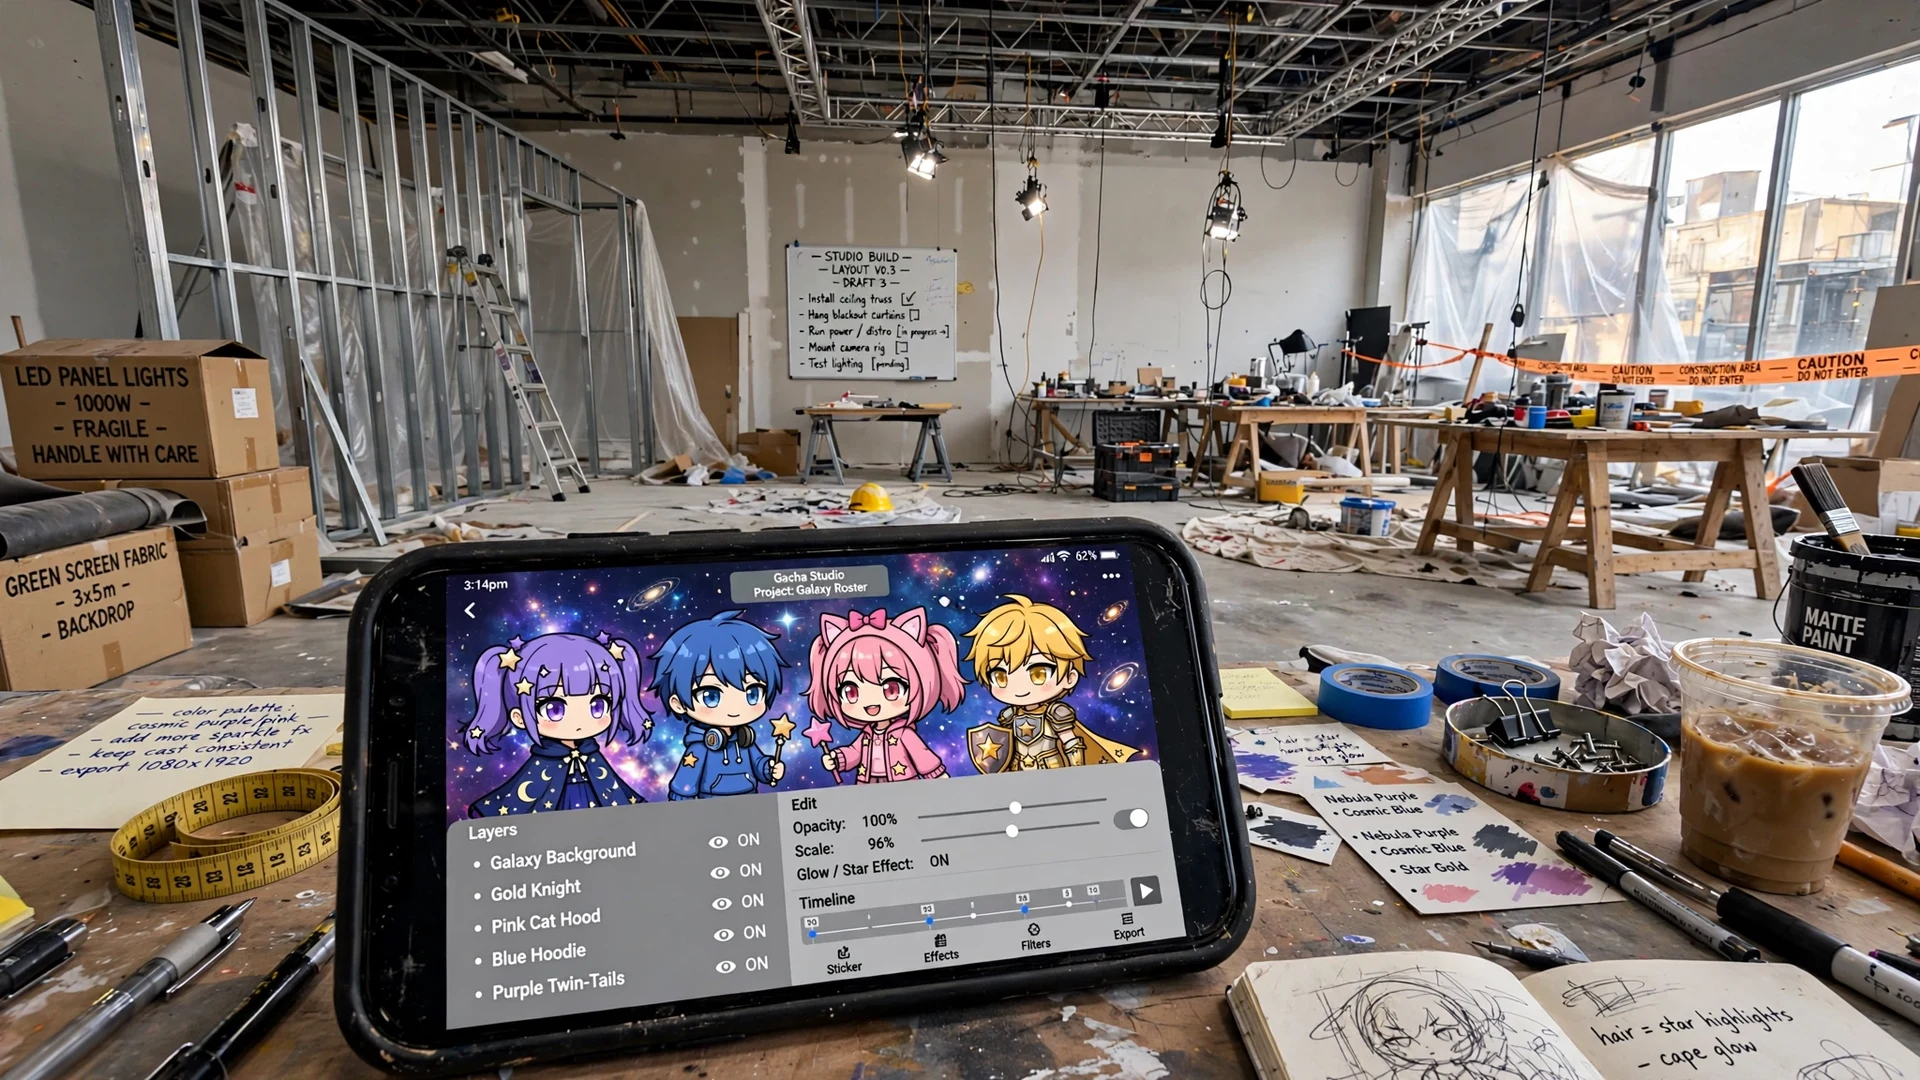
The good news is that Studio Mode is easy to open and forgiving to learn. The bad news is that nobody has written a proper guide for it. Most sites describe it in five bullet points, and some describe features that do not exist. This guide fixes that. You will learn how to set up your first scene, pose characters, layer props, add dialogue bubbles and a narrator, save up to 15 scenes, and export clean screenshots and videos.
New to the mod itself? Read our overview of what Gacha Nebula is first, then come back. This guide covers the current 1.7.0.2 build.
Quick answer: Gacha Nebula Studio Mode is the in-app scene builder where you place up to 10 characters on a background, add pets, props, dialogue bubbles, and a narrator box, then save up to 15 scenes. Creators use it to make comics, memes, and mini-movies for TikTok and YouTube.
What Is Gacha Nebula Studio Mode?
Gacha Nebula Studio Mode is the second tab in the app, and it works like a tiny film set. Your characters wait on the right side of the screen. You tap one to drop it into the scene, then drag it, resize it, and pose it. Around your cast you can place pets, objects, and props, choose from a wide library of backgrounds and foregrounds, and add text wherever the story needs it. When the frame looks right, you save it and move on to the next one.
Because Nebula is a Gacha Club mod, its Studio inherits the original Studio mechanics and then expands them. The mod adds over 2,000 new assets in total, including 1,500 new items, backgrounds, and poses, according to the developers' own page. That means more backgrounds to set the mood, more poses to sell the action, and more props to fill the frame.
| Studio Mode feature | What you get |
|---|---|
| Characters per scene | Up to 10 |
| Save slots | Up to 15 scenes |
| Backgrounds | Hundreds, including Nebula-exclusive themes |
| Foregrounds | Overlay filters for depth and mood |
| Dialogue | Custom text boxes, pets can talk too |
| Narrator | Unattached story text box |
| Face presets | One-tap expression changes |
Studio Mode vs the Character Creator
Here is the thing most beginners mix up. The character creator designs one character at a time. Studio Mode directs many characters at once. You do your detailed outfit work in the creator, then you bring the finished cast into Studio to act. Think of it this way: the creator makes the actors, Studio shoots the movie.
Who Studio Mode Is For
Studio Mode is for anyone who wants to tell stories with their OCs. Meme makers build one funny frame. Comic artists chain scenes into panels. GachaTubers screenshot scenes as video backgrounds or record the screen while flipping through saved scenes. And if you just like posing your characters in cool outfits, Studio is the prettiest photo booth you will ever use.
How to Open Studio Mode and Set Up Your First Scene
Opening Gacha Nebula Studio Mode takes about ten seconds once the app is installed. But let us start one step earlier, because a surprising number of Studio headaches come from a bad install or an outdated build.
Before You Start: Install and Update
Grab the mod from our trusted Gacha Nebula download guide and install the APK safely. Stick to verified sources only, and check our Gacha Nebula safety guide if you are unsure about a download link. On a Chromebook, follow our Chromebook setup guide instead of the standard Android steps. If the app refuses to install at all, our App Not Installed fix guide sorts that out first.
Your First Scene in 5 Steps
- Open the Studio tab. Launch the app and tap the Studio button, the second tab on the main menu.
- Add a character. Your character list sits on the right. Tap a character to place it in the scene, then drag it where you want it.
- Pick a background. Open the background picker and choose one that matches your story's mood. A night sky for drama, a classroom for comedy.
- Add one prop. Drop in a single object, like a chair or a sword, to give the scene depth. Less is more at first.
- Save the scene. Use the save option to store it in one of your 15 slots. Done. You just built your first scene.
Do not try to master everything in one sitting. Build five simple scenes first. The workflow clicks fast once your fingers learn where everything lives.
Adding and Posing Characters in Gacha Nebula Studio Mode
Characters are the heart of every scene, and Gacha Nebula Studio Mode gives you two jobs here: placing them well and posing them well. Placement is simple. Posing is where the craft, and one famous glitch, lives.
Placing and Positioning Characters
Tap a character on the right-side list to add it to the scene. You can add up to 10 characters per scene, which is plenty for group shots and dialogue scenes. Drag a character to move it, and use the resize controls to push background characters smaller and pull foreground characters larger. That size contrast alone makes a flat scene look three-dimensional. What most people miss is that you can also flip a character, which is perfect for face-to-face conversations.
Bringing in OCs you designed elsewhere? You can import them with character codes and drop them straight into your scenes.
Choosing Poses Without the Glitches
Nebula ships with a huge pose library, including brand-new poses made for the mod. Poses do the emotional heavy lifting. A pose can communicate tension before a single line of dialogue appears, so browse the pose list with your story in mind rather than picking the first cool-looking one.
Now the honest part. The developers document a known bug: the new poses do not switch properly, can change when you switch modes, or may glitch out entirely. The official workaround is simple: select a body map first, then choose the new pose. That one habit prevents most pose weirdness. Another documented quirk: the front leg of the sitting down pose only appears if a prop is present in the scene, so drop a chair or box nearby when a character sits.
| Pose problem | What to do |
|---|---|
| New pose glitches or resets | Select a body map first, then apply the pose |
| Sitting pose missing its front leg | Add any prop to the scene |
| Pose looks wrong after switching modes | Re-select the body map and re-apply the pose |
These quirks are listed on the developers' own known-bugs page, so you are not doing anything wrong. If you run an older version of the app, consider updating, since newer builds smooth out several Studio rough edges.
Backgrounds and Foregrounds in Studio Mode
A background establishes location, mood, time, and genre before your characters say a word, and backgrounds are one of the strongest parts of Gacha Nebula Studio Mode. Nebula's background library is one of its biggest upgrades over the original, with new themed environments made for the mod. Scroll through the picker slowly the first time. You will find options for fantasy, sci-fi, school life, horror, and calm everyday scenes.
Picking Backgrounds That Match Your Story
Match the background to the emotion, not just the location. A bright park behind a breakup scene feels wrong even though both characters are technically outside. Ask one question: what should the viewer feel in the first second? Then pick the background that answers it. And remember that new backgrounds keep arriving with app updates, so keep your build updated to grow your library.
Using Foregrounds for Extra Depth
Foregrounds are overlay filters that sit in front of your characters: light leaks, vignettes, weather effects, and mood tints. They are the fastest way to make a simple scene look cinematic. One caution from the developers' bug list: some foreground filters appear darker than intended on certain Android devices. If a foreground looks muddy on your phone, try a lighter one or skip it. The scene underneath is what matters.
Pets, Props, and Objects: Layering Your Scene
Pets and objects act as extra actors in Gacha Nebula Studio Mode. A pet sleeping in the corner tells you about a character without a single line of dialogue. A hand-held prop, like a sword or a phone, sells an action pose instantly. The mod includes dozens of new pets and objects on top of the original set, so you will not run out of set dressing.
How Layering Works in Studio
Layering is just deciding what sits in front of what. The practical rule: layer characters front-to-back, with the most important character closest to the viewer. Place larger props behind characters to build the environment, and small hand-held props in front to create interaction. Adjust shadows so characters feel planted in the scene instead of floating on top of it. Many creators also prepare a solid-color or green-screen backdrop to make later video editing faster.
Mistakes That Ruin a Good Scene
Two mistakes wreck more scenes than anything else. First, clutter. Ten props in one frame create visual noise, not richness. Start with one hero prop per character and add more only if the scene feels empty. Second, asset overload. The developers warn that combining a lot of modded assets on one character can cause square-shaped graphical artifacts. If your character starts showing strange squares, remove a few stacked items. And if heavy scenes stutter on your phone, make sure you are on the right build with our 32-bit vs 64-bit chooser.
Adding Dialogue: Text Bubbles and the Narrator
Dialogue turns a posed picture into a story. Gacha Nebula Studio Mode gives you two text tools: speech bubbles attached to characters, and a narrator box that floats free. Both are fully customizable, and learning them takes minutes.
Character Dialogue Bubbles
Select a character, open its dialogue options, and type. You can change the bubble shape, text color, font, and placement around the character. Short lines read best. Real comics keep bubbles to one or two short sentences, and your scenes should too. Here is a fun detail from the official feature list: pets can talk as well, so your mascot character can finally get its lines.
The Narrator Box
The narrator button creates a text box that is not attached to any character. Place it at the top, middle, or bottom of the scene for scene-setting lines like Meanwhile, at the academy... You can customize the text size, color, font, and even the narrator name and its color. Use it sparingly. A narrator box on every scene feels like a lecture. Save it for time skips, location changes, and dramatic reveals.
Face Presets: Change Expressions in Seconds
Rebuilding a face for every emotion would take forever, so Gacha Nebula Studio Mode includes face presets. One tap swaps your character's whole expression: happy, shocked, angry, sad, and more. They are the secret behind those fast-paced Gacha memes where expressions flip every half second.
When to Use Face Presets
Use presets for dialogue scenes and reaction shots, where speed matters more than fine detail. Duplicate the character across two saved scenes, change only the face preset and the bubble text, and you have a two-panel reaction comic. For your most important close-ups, though, hand-tune the eyes and mouth. Presets are fast, but custom faces carry the emotional peak of a story.
Saving and Loading Your Scenes
Gacha Nebula Studio Mode lets you save and load up to 15 scenes, which is how creators build whole stories one frame at a time. Each slot stores your characters, poses, background, props, and dialogue exactly as you left them. Treat the slots like comic panels: scene 1 sets the stage, scene 2 delivers the twist, scene 3 lands the punchline.
How the 15 Scene Slots Work
Save early and save often. Name each scene mentally by its job in the story so you can find it later. One practical workflow: build all your scenes first, then export them in order. That separation keeps you in a creative flow while building and an editing flow while exporting, instead of bouncing between the two.
Back Up Scenes Before Updating
Scenes live inside the app's data, which means a careless reinstall can wipe hours of work. Before any update or reinstall, protect your OCs and scenes with our update without losing data guide. It takes two minutes and it is the difference between a smooth upgrade and a tragedy.
Exporting Your Work: Screenshots and Videos
A scene only matters once it leaves the app. Most creators export in one of two ways: still screenshots for comics, memes, and thumbnails, or screen recordings for TikTok and YouTube videos.
Clean Screenshots for Comics and Thumbnails
Use your phone's built-in screenshot function once the scene is framed the way you want it. Then crop out the editor UI in any free photo editor so only your scene shows. For the cleanest results, frame the scene to fill the screen before you capture, and double-check that no dialogue bubble is cut off at the edges. Cramped on a small phone screen? Build on a bigger canvas with the Windows version or run it on PC without an emulator.
Recording Studio Scenes as Video
For mini-movies, use your phone's built-in screen recorder while you flip through saved scenes and change dialogue. Record each scene as a separate clip, then stitch them together in an editor like CapCut. Add music, sound effects, and transitions there, not in the app. If you want to go deeper into publishing, our content creator guide covers the full workflow from scene to published video.
Pro Tips for Content Creators
You know the Gacha Nebula Studio Mode tools now. Here is how experienced creators think about them.
Plan the Scene Before You Build It
The best Studio work starts on paper, or at least in your head. Write the dialogue first, then decide how many characters the scene needs, then build. Creators who build first and write later end up with pretty scenes and weak stories. Sketch three beats: the setup, the turn, and the payoff. If a scene does not serve one of those beats, cut it.
Dodge the Known Studio Bugs
A quick pre-flight checklist saves reshoots. Select a body map before applying new poses. Add a prop when characters sit down. Go easy on stacked modded assets to avoid the square-artifact glitch. And if Studio ever freezes or crashes mid-scene, our Gacha Nebula crashing fix guide walks you through every fix in order.
Frequently Asked Questions
How many characters can you add in Gacha Nebula Studio Mode?
You can add up to 10 characters in a single Studio scene. Tap characters from the right-side list to place them, then drag, resize, and flip each one. Ten slots is enough for group shots, conversations, and battle lineups, and you can add pets and objects on top as extra set dressing.
How do you save scenes in Gacha Nebula Studio Mode?
Studio Mode includes 15 save slots. Open the save option once your scene is ready and store it in a free slot; you can load it back later with everything intact, including poses, dialogue, and background. Save your best work before updating or reinstalling the app so a wipe never costs you hours of building.
Why do new poses glitch in Gacha Nebula Studio Mode?
This is a documented bug, not something you caused. The developers confirm that new poses may not switch properly or can glitch when changing modes. The official workaround is to select a body map first, then apply the new pose. If a sitting pose is missing its front leg, add any prop to the scene and it appears.
Can you add dialogue and narration in Gacha Nebula Studio?
Yes. Each character gets customizable dialogue with its own bubble shape, text color, font, and placement, and pets can have dialogue too. The narrator button creates a free-floating text box you can place at the top, middle, or bottom of the scene for scene-setting lines, with its own name, colors, and fonts.
How do I take clean screenshots of my Studio scenes?
Frame the scene to fill your screen, capture it with your phone's screenshot function, then crop out the editor UI in a free photo editor. Check that no bubble is cut off before you save. For video, record the screen while flipping through saved scenes, then edit the clips together in an app like CapCut.
Is Gacha Nebula Studio Mode available on iOS or iPad?
There is no official iOS release of Gacha Nebula, so Studio Mode is not natively available on iPhone. Our Gacha Nebula for iOS article explains the current status and workarounds, and iPad owners should read our Gacha Nebula on iPad guide for the options that exist.
Why is Studio Mode lagging or freezing on my phone?
Heavy scenes with many stacked modded assets strain low-end phones and can even trigger the developers' documented square-artifact glitch. Remove some layered items, close background apps, and confirm you are on the right 32-bit vs 64-bit build. For full troubleshooting, see our crashing fix guide.
Can I use Gacha Nebula Studio Mode on a Mac or PC?
Yes. The Windows version runs Studio natively on a bigger screen, and our PC without emulator guide shows the lightest way to do it. Mac users can build scenes too by following the workarounds in our Gacha Nebula on Mac guide.
Wrapping Up: Your Studio Mode Workflow
Here is the whole Gacha Nebula Studio Mode workflow in one breath. Design your characters, open Studio Mode, place up to 10 of them on a background that matches the mood, pose them with the body-map-first habit, layer a few props, write tight dialogue, add a narrator box where the story needs one, and save the scene. Repeat fifteen times and you have a series.
Gacha Nebula Studio Mode rewards storytellers more than technicians. You do not need the fanciest assets. You need clear staging, honest expressions, and dialogue that earns its bubbles. Start with simple one-frame memes, graduate to multi-scene comics, and before long you will be storyboarding mini-movies like the creators you watch. Ready to begin? Head back to the Gacha Nebula homepage, grab the latest build, and build your first scene today.